DIY Cold-Processed Soap: Crafting Wellness at Home
- ibiznisempoweredte
- Jul 19
- 4 min read

Crafting your own soap at home is not just a fun and creative activity; it’s also a way to ensure that you know exactly what goes into the products you use on your skin. Cold-processed soap making allows you to customize ingredients, scents, and textures, giving you complete control over your skincare routine. In this guide, we will explore the art of cold-processed soap making, providing you with all the information you need to get started on your journey to crafting wellness at home.
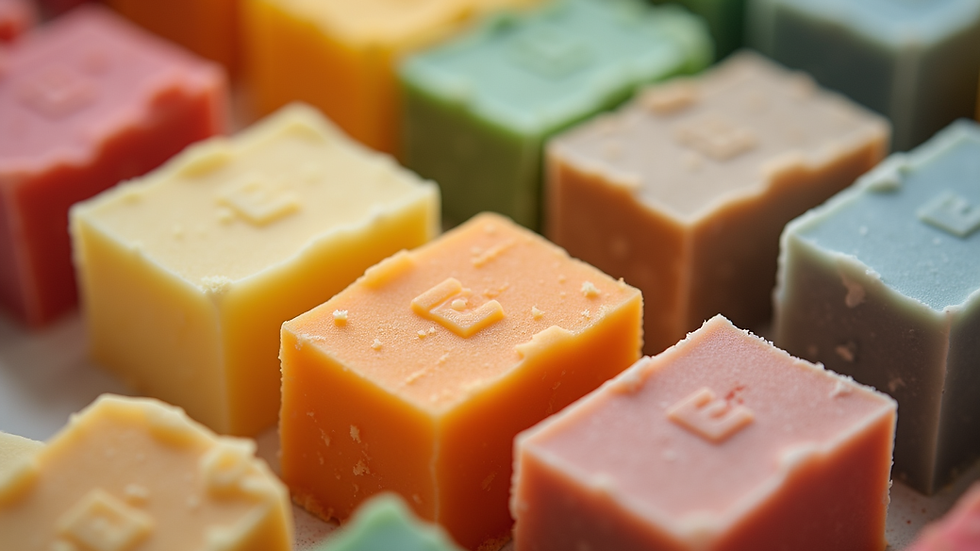
Understanding Cold-Processed Soap
Cold-processed soap is made through a chemical reaction called saponification, where oils and fats react with an alkali, typically sodium hydroxide (lye). This method allows for the preservation of the natural properties of the oils used, resulting in a gentle and moisturizing soap.
Benefits of Cold-Processed Soap
Natural Ingredients: You can choose high-quality oils, butters, and essential oils, avoiding synthetic additives.
Customization: Tailor your soap to suit your skin type or personal preferences, whether you prefer a floral scent or a refreshing citrus aroma.
Cost-Effective: Making soap at home can save you money in the long run, especially if you use it regularly.
Creative Outlet: Experiment with colors, shapes, and scents to create unique bars of soap that reflect your personality.
Essential Ingredients for Cold-Processed Soap
Before diving into the soap-making process, it’s crucial to gather the right ingredients. Here’s a list of essential components you’ll need:
Oils and Fats
Olive Oil: Known for its moisturizing properties, it creates a gentle soap.
Coconut Oil: Adds lather and hardness to the soap.
Palm Oil: Contributes to a stable lather and a firm bar.
Shea Butter: Provides extra moisture and nourishment.
Lye
Sodium Hydroxide: The key ingredient that reacts with oils to create soap. Handle with care, as it is caustic.
Water
Distilled Water: Used to dissolve lye before mixing with oils.
Optional Additives
Essential Oils: For fragrance and therapeutic benefits.
Colorants: Natural colorants like clay or mica for visual appeal.
Exfoliants: Ingredients like oatmeal or coffee grounds for texture.
Safety Precautions
Working with lye requires caution. Here are some safety tips to keep in mind:
Wear Protective Gear: Use gloves, goggles, and long sleeves to protect your skin and eyes.
Work in a Well-Ventilated Area: Lye can produce fumes, so ensure good airflow.
Keep Children and Pets Away: Ensure a safe workspace by keeping distractions at bay.
The Cold-Process Soap Making Process
Now that you have your ingredients and safety measures in place, let’s walk through the steps of making cold-processed soap.
Step 1: Prepare Your Workspace
Clear a flat surface and cover it with newspaper or a plastic sheet for easy cleanup.
Gather all your tools: a digital scale, mixing bowls, stick blender, thermometer, and soap molds.
Step 2: Measure Ingredients
Weigh your oils and lye accurately using a digital scale. It’s essential to follow a reliable soap recipe for precise measurements.
Step 3: Mix Lye and Water
Carefully add lye to distilled water (never the other way around) in a well-ventilated area. Stir until dissolved and let it cool to around 100°F (38°C).
Step 4: Heat Oils
Gently heat your oils until they are melted and combined. Allow them to cool to the same temperature as the lye solution.
Step 5: Combine Lye and Oils
Slowly pour the lye solution into the oils while blending with a stick blender. Blend until you reach “trace,” where the mixture thickens and leaves a trail on the surface.
Step 6: Add Fragrance and Color
If desired, add essential oils and colorants at this stage. Mix thoroughly to ensure even distribution.
Step 7: Pour into Molds
Pour the soap mixture into your molds, smoothing the top with a spatula. Cover with a towel to insulate and allow it to saponify.
Step 8: Unmold and Cure
After 24-48 hours, carefully remove the soap from the molds. Cut into bars and place them on a drying rack. Allow the soap to cure for 4-6 weeks before using.
Troubleshooting Common Issues
Even experienced soap makers encounter challenges. Here are some common issues and how to address them:
Soap Not Hardening: This could be due to incorrect lye measurements or not allowing enough curing time. Ensure accurate measurements and patience.
Unpleasant Odor: If your soap smells off, it may be due to rancid oils. Always use fresh ingredients.
Separation: If your soap separates, it may be due to overheating or improper mixing. Ensure even temperatures and thorough blending.
Personalizing Your Soap
Once you master the basics, you can start experimenting with different ingredients and techniques. Here are some ideas to inspire your creativity:
Scent Combinations
Lavender and Chamomile: A calming blend perfect for relaxation.
Citrus Burst: Combine lemon and orange essential oils for an energizing soap.
Color Techniques
Swirls: Pour different colors of soap batter into the mold and swirl with a skewer for a marbled effect.
Layering: Create distinct layers by pouring different colored soap mixtures one at a time.
Additives for Texture
Oatmeal: Adds gentle exfoliation and is great for sensitive skin.
Herbs: Dried herbs like rosemary or mint can provide a natural scent and texture.
Storing and Using Your Soap
Once your soap is cured, it’s time to enjoy your creations. Here are some tips for storage and usage:
Store in a Cool, Dry Place: Keep your soap away from direct sunlight and moisture to prolong its shelf life.
Use a Soap Dish: Allow your soap to dry between uses to prevent it from becoming mushy.
Conclusion
Making cold-processed soap is a rewarding and fulfilling hobby that allows you to create personalized skincare products. With the right ingredients, safety precautions, and a bit of creativity, you can craft beautiful and nourishing soap right in your own home. So gather your supplies, follow the steps outlined in this guide, and embark on your journey to crafting wellness at home. Happy soap making!


Comments